iOS Kiosk Settings
This guide explains how to set up a merchant iPhone or iPad as a dedicated AVA kiosk device.
Use this flow when the device must be supervised, remotely managed, and locked to the AVA kiosk app.
You need mini_mdm:enroll to create and assign iOS kiosk devices in Settings → Kiosk.
- The merchant's iPhone or iPad must be registered to the Vouch Apple Business Manager (ABM) organization first. This registration can only be done by Vouch staff.
- For Vouch staff only: the staff member doing first-time device registration must have an Apple Business Manager account with the Device Enrollment Manager role. If you do not have this role, ask a manager or someone with ABM permission to create or update your account.
- After a device is registered to the Vouch ABM organization, it does not need to be registered again unless the device is released from the organization.
- You can check whether a device is already registered by creating and assigning an iOS device in Settings → Kiosk using the device serial number. If creation succeeds, the device is already in the Vouch ABM organization. If it fails, the device must be registered to Vouch ABM first.
First-Time Device Registration to Vouch ABM
Use this section only when the merchant's iPhone or iPad is not yet registered to the Vouch Apple Business Manager organization.
Add the Merchant Device to Vouch ABM
This part is done by Vouch staff with Apple Configurator on a staff iPhone or iPad.
1. Install and Set Up Apple Configurator on the Staff Device
-
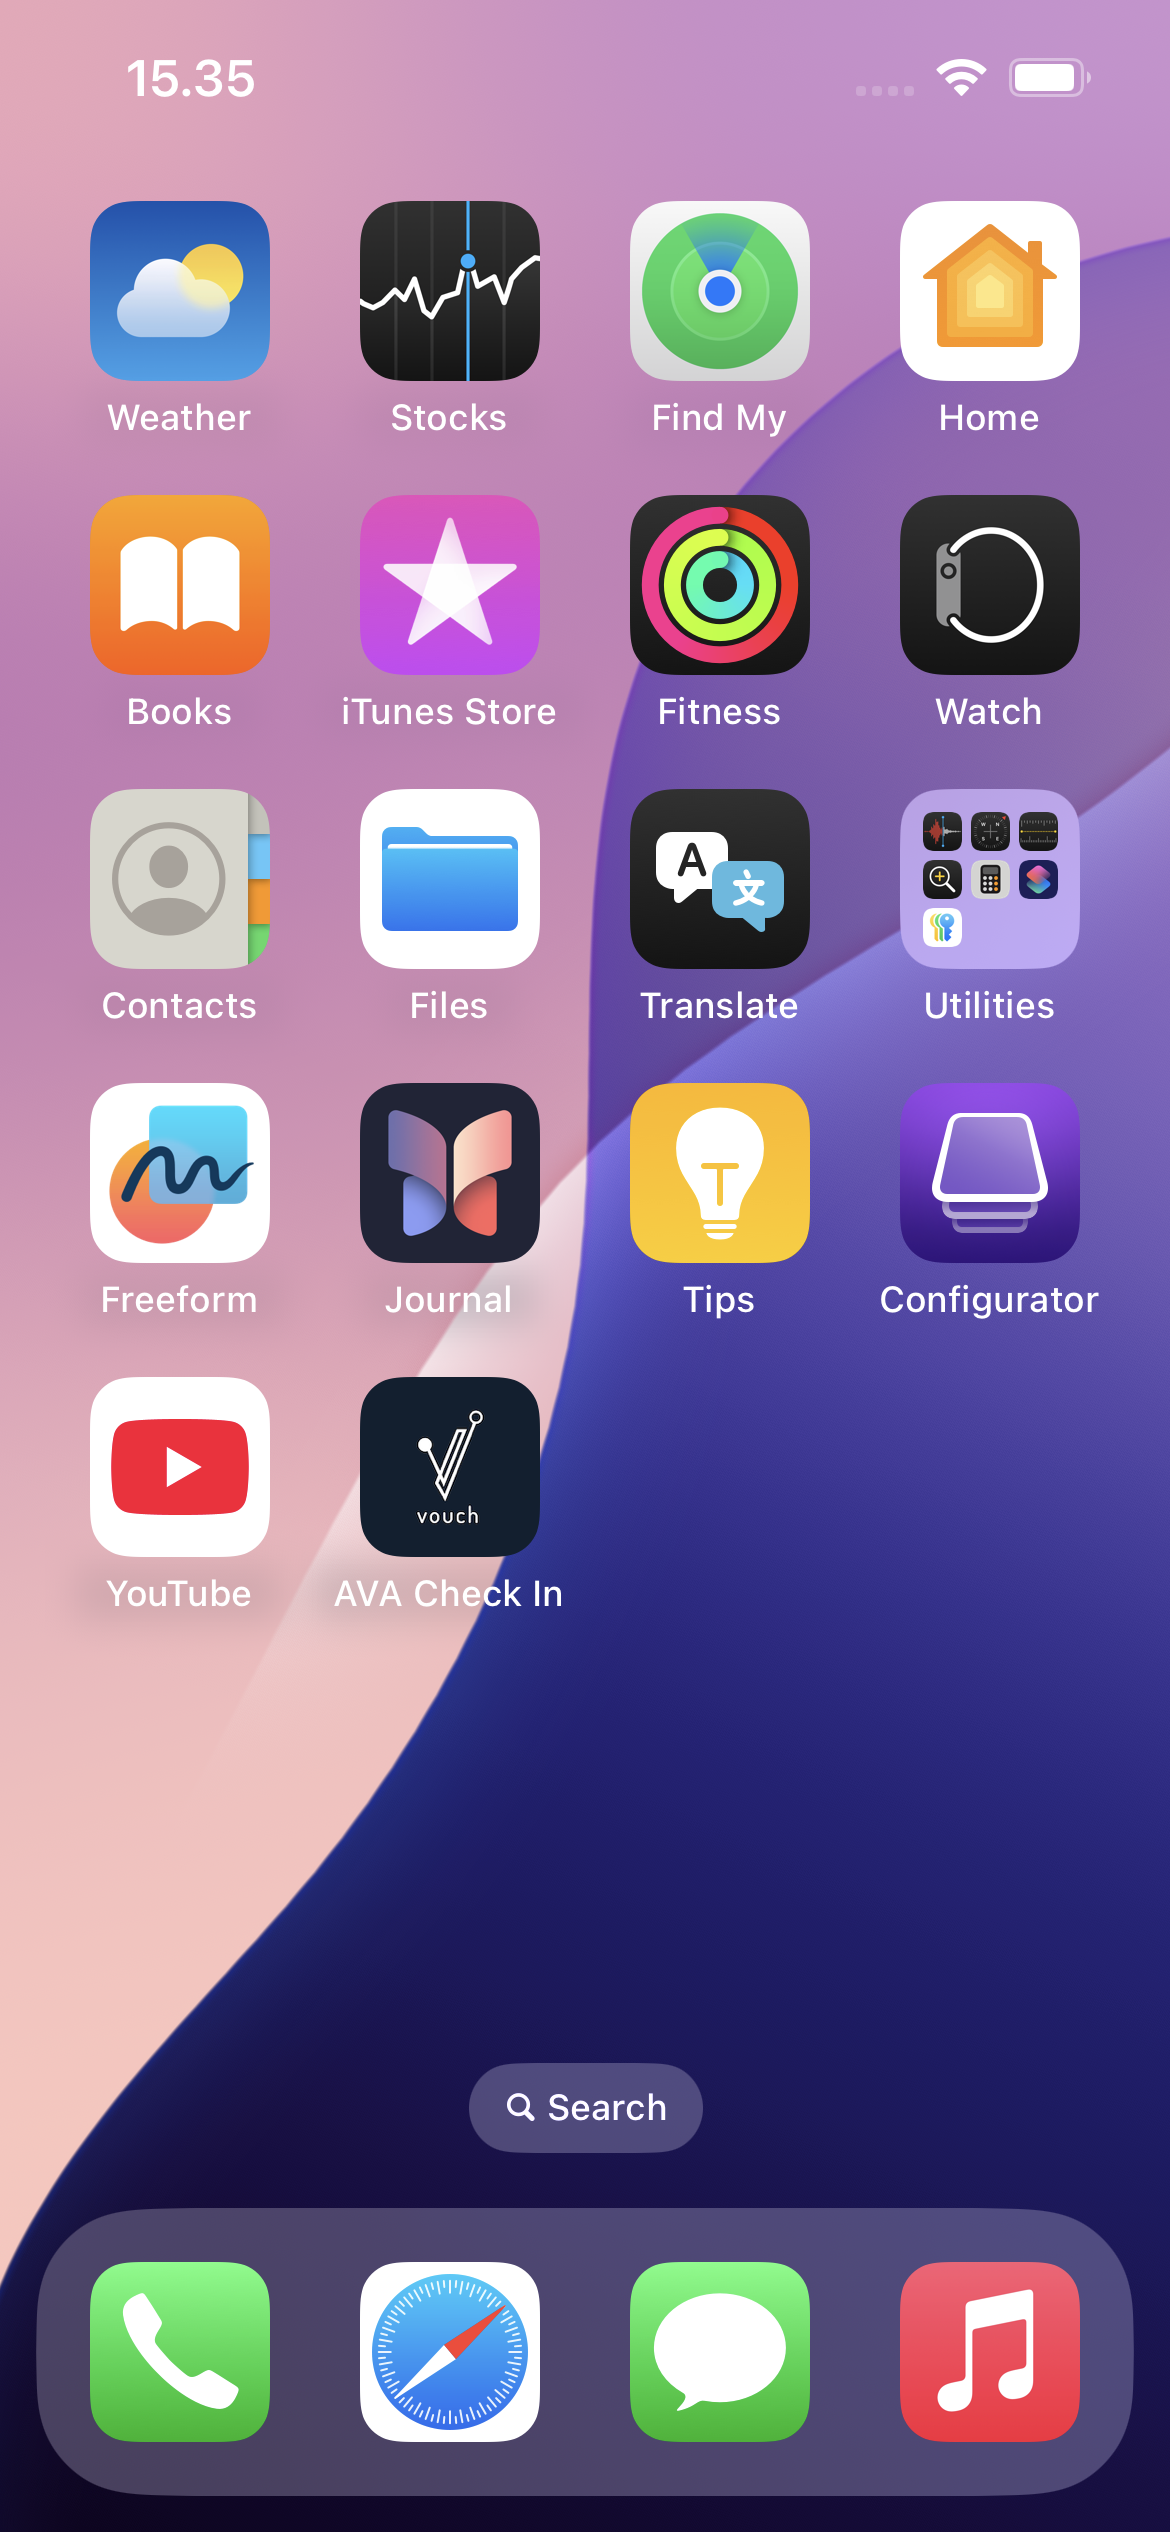
On the staff iPhone or iPad, open Apple Configurator.
-
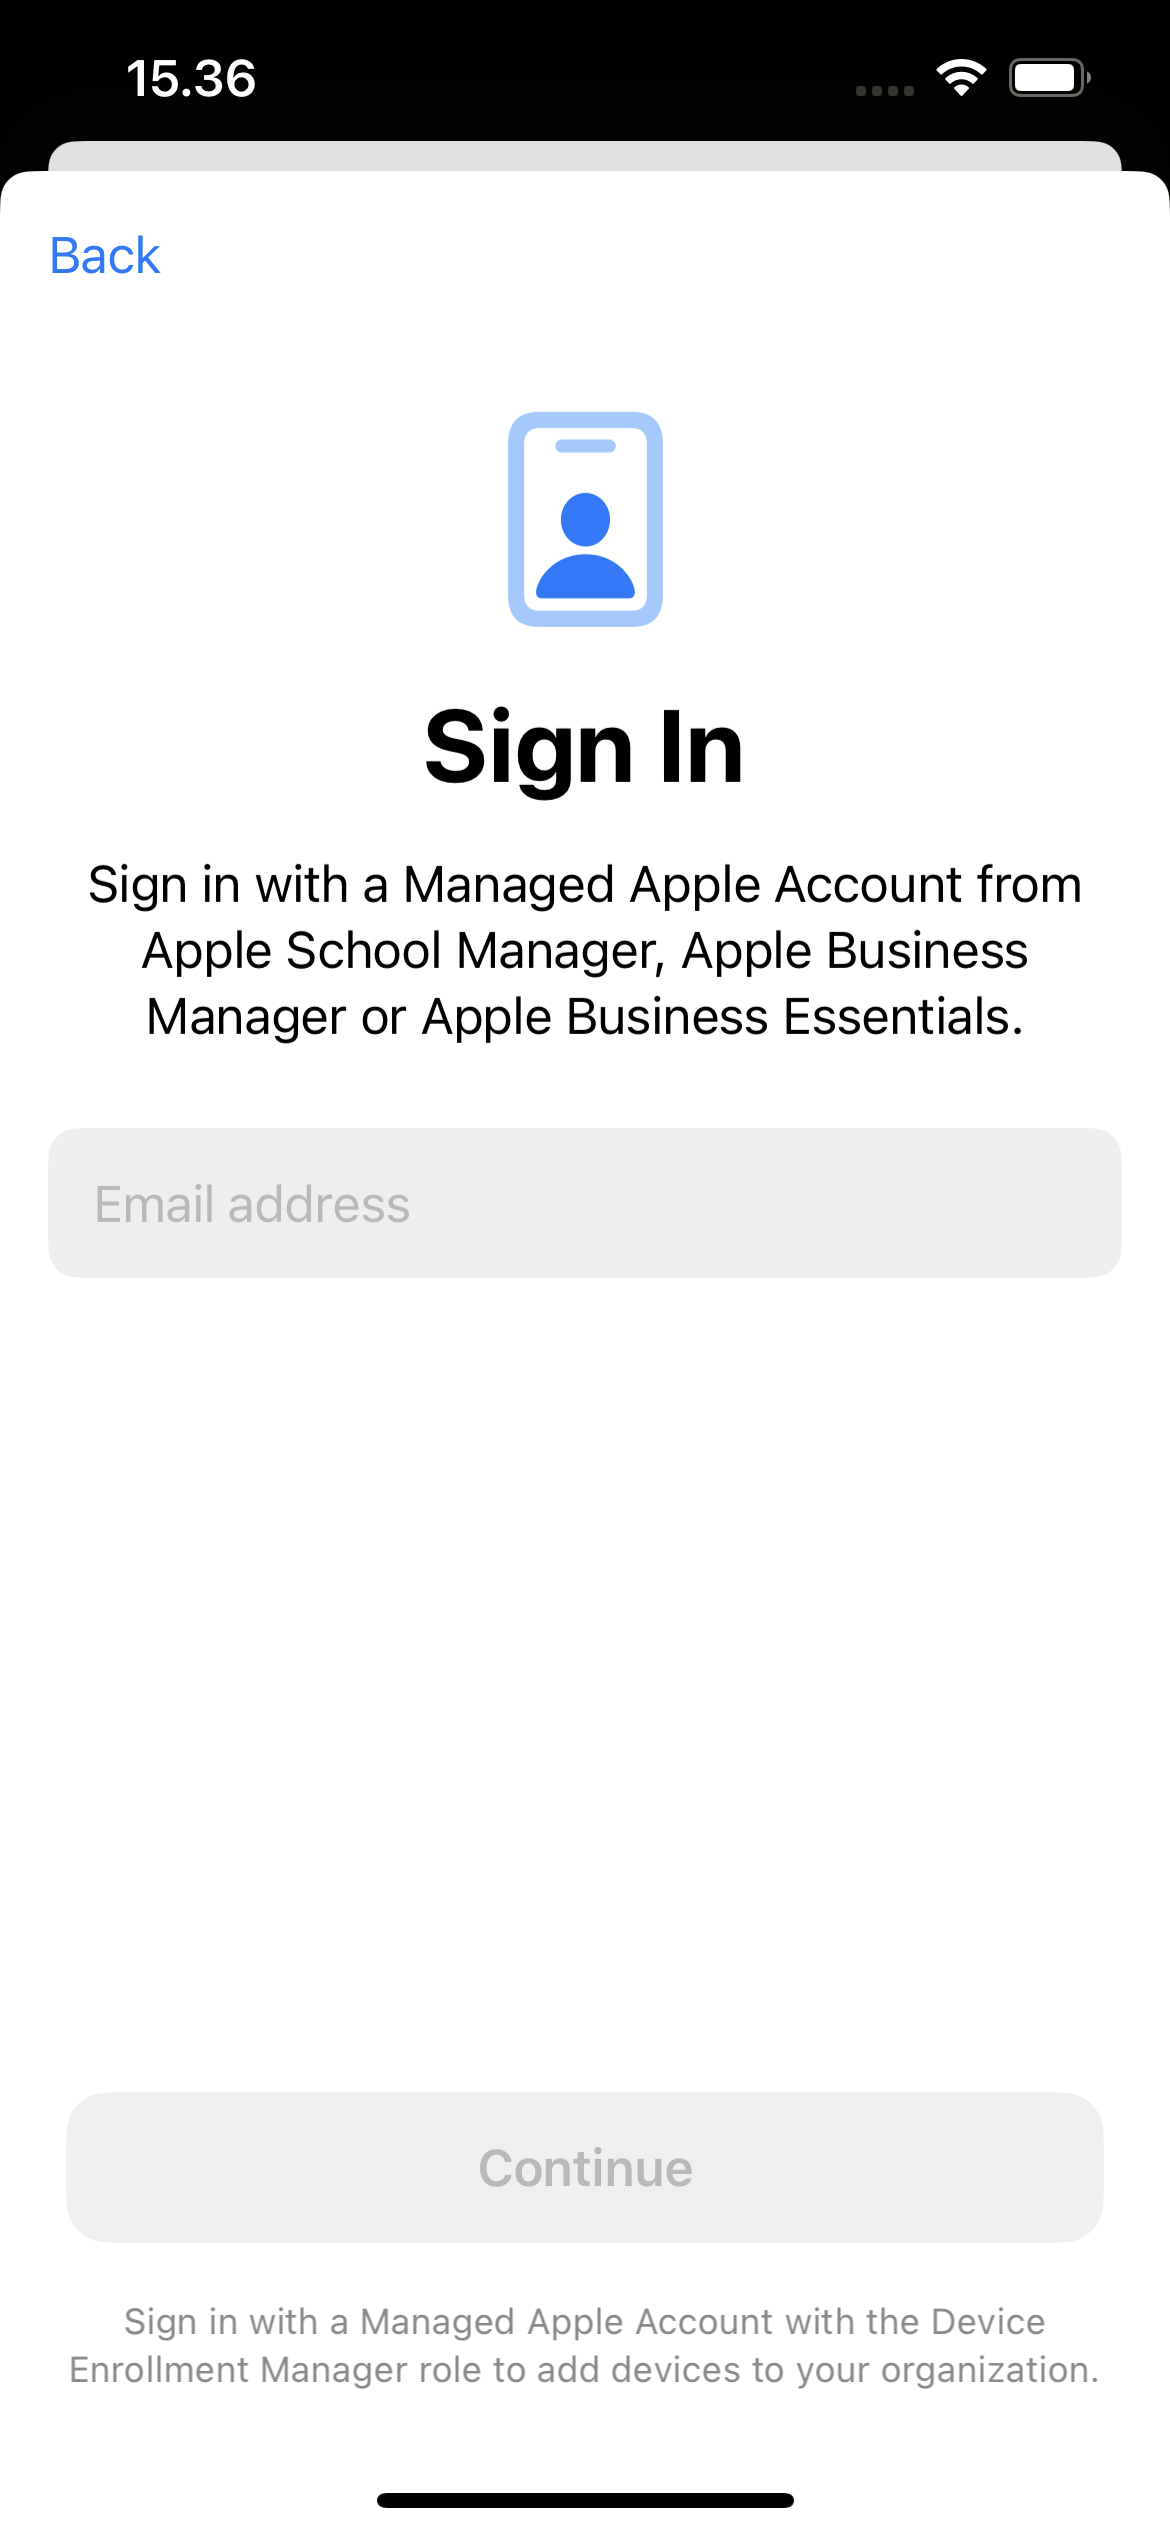
Sign in using the Vouch Apple Business Manager account.
-
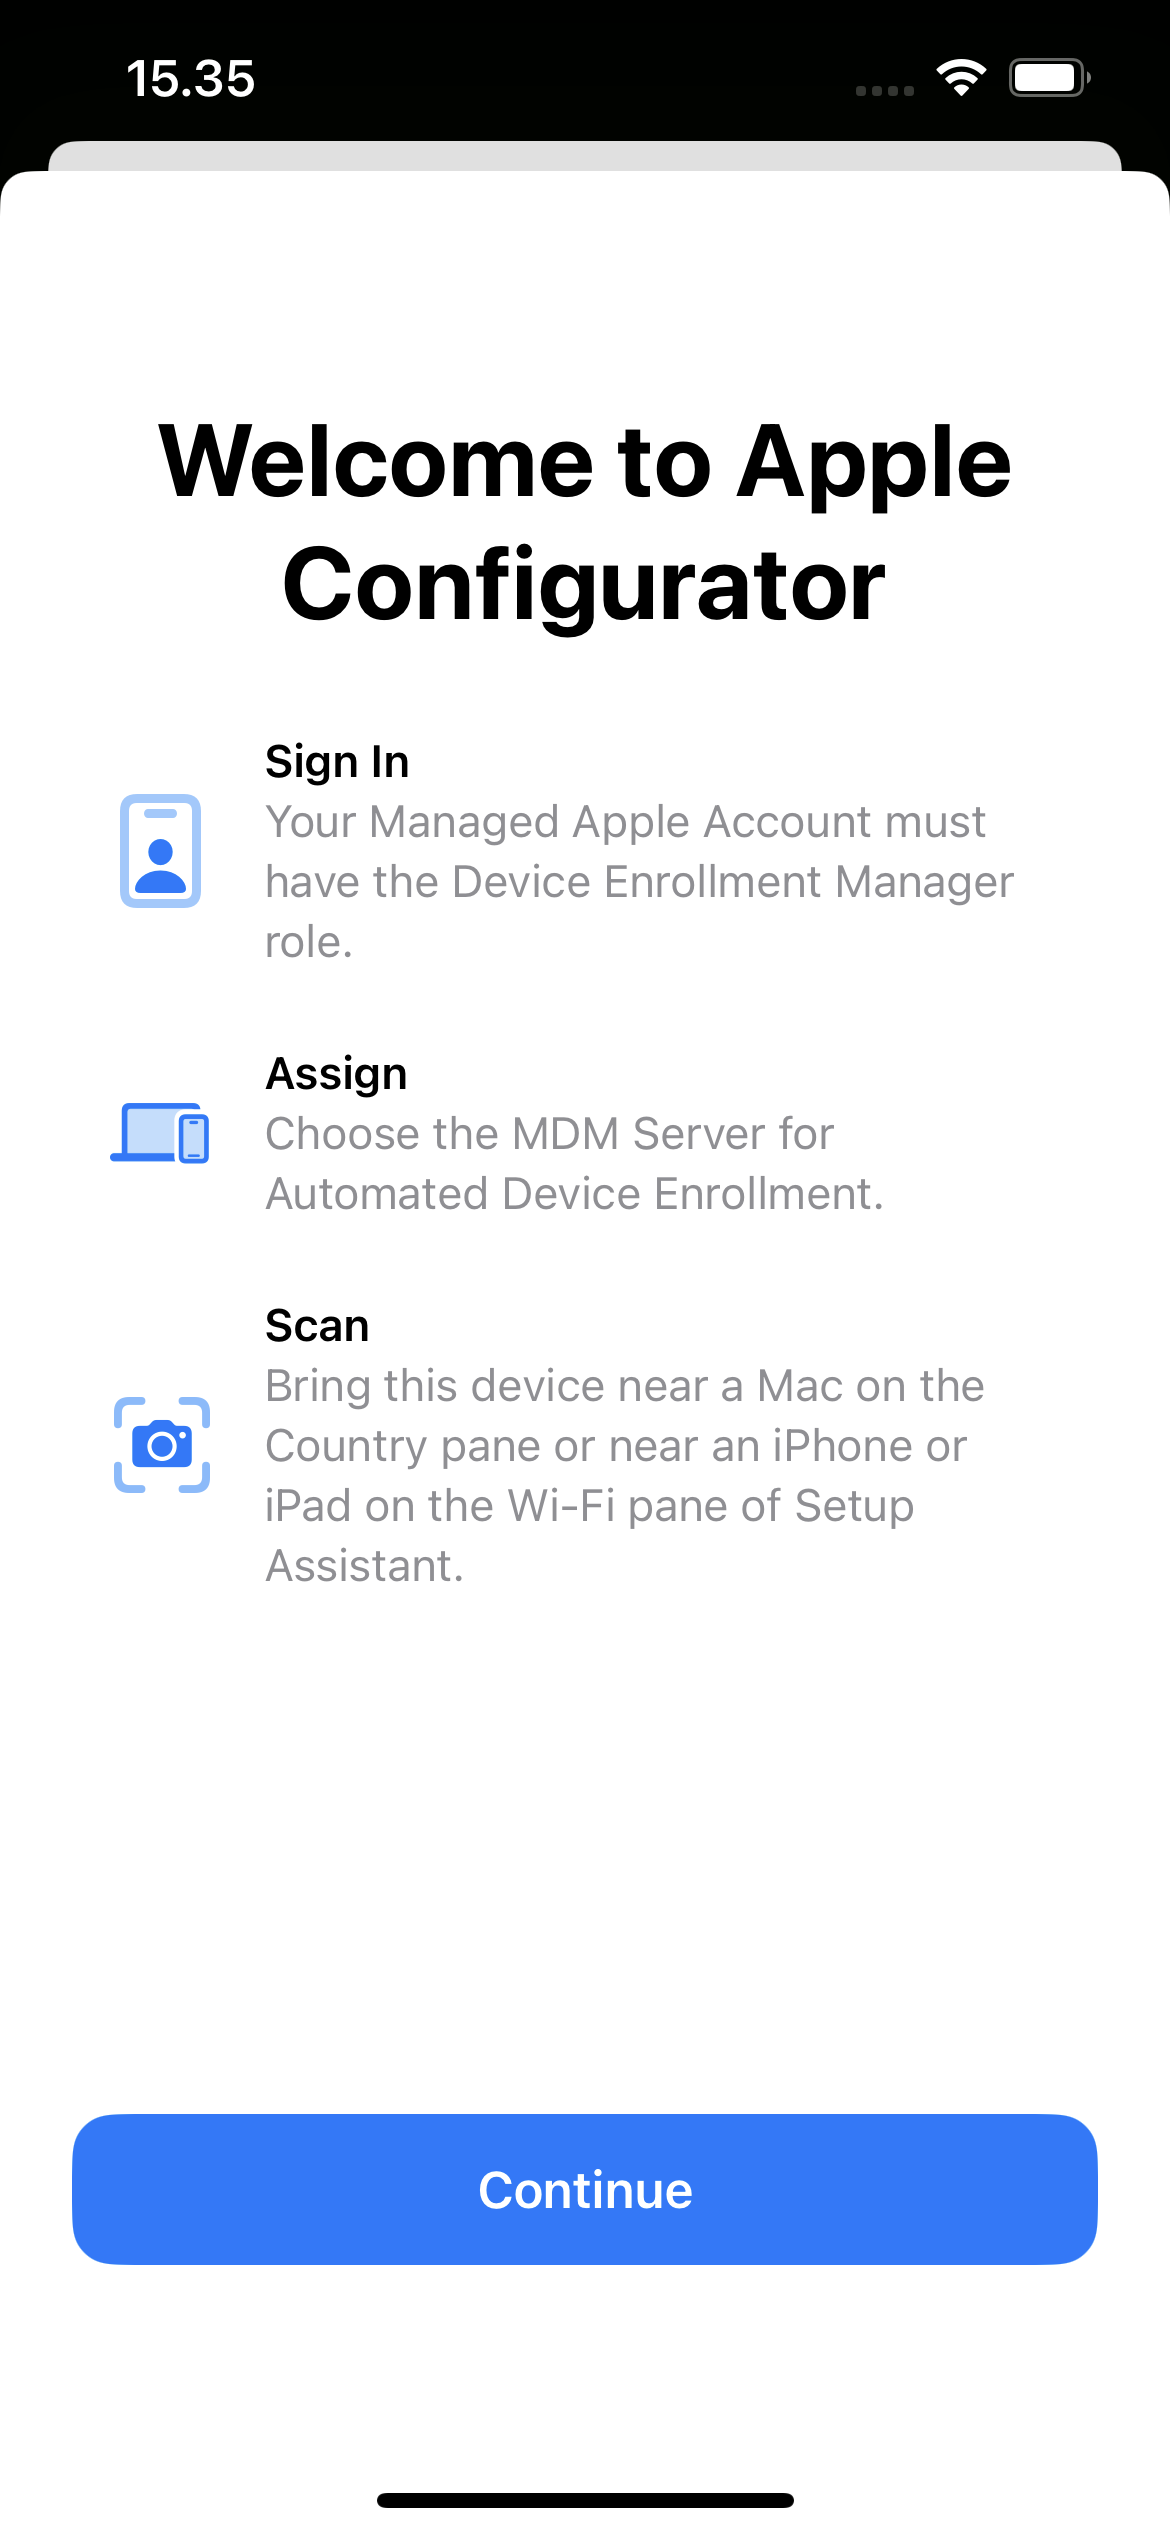
Tap Continue.
-
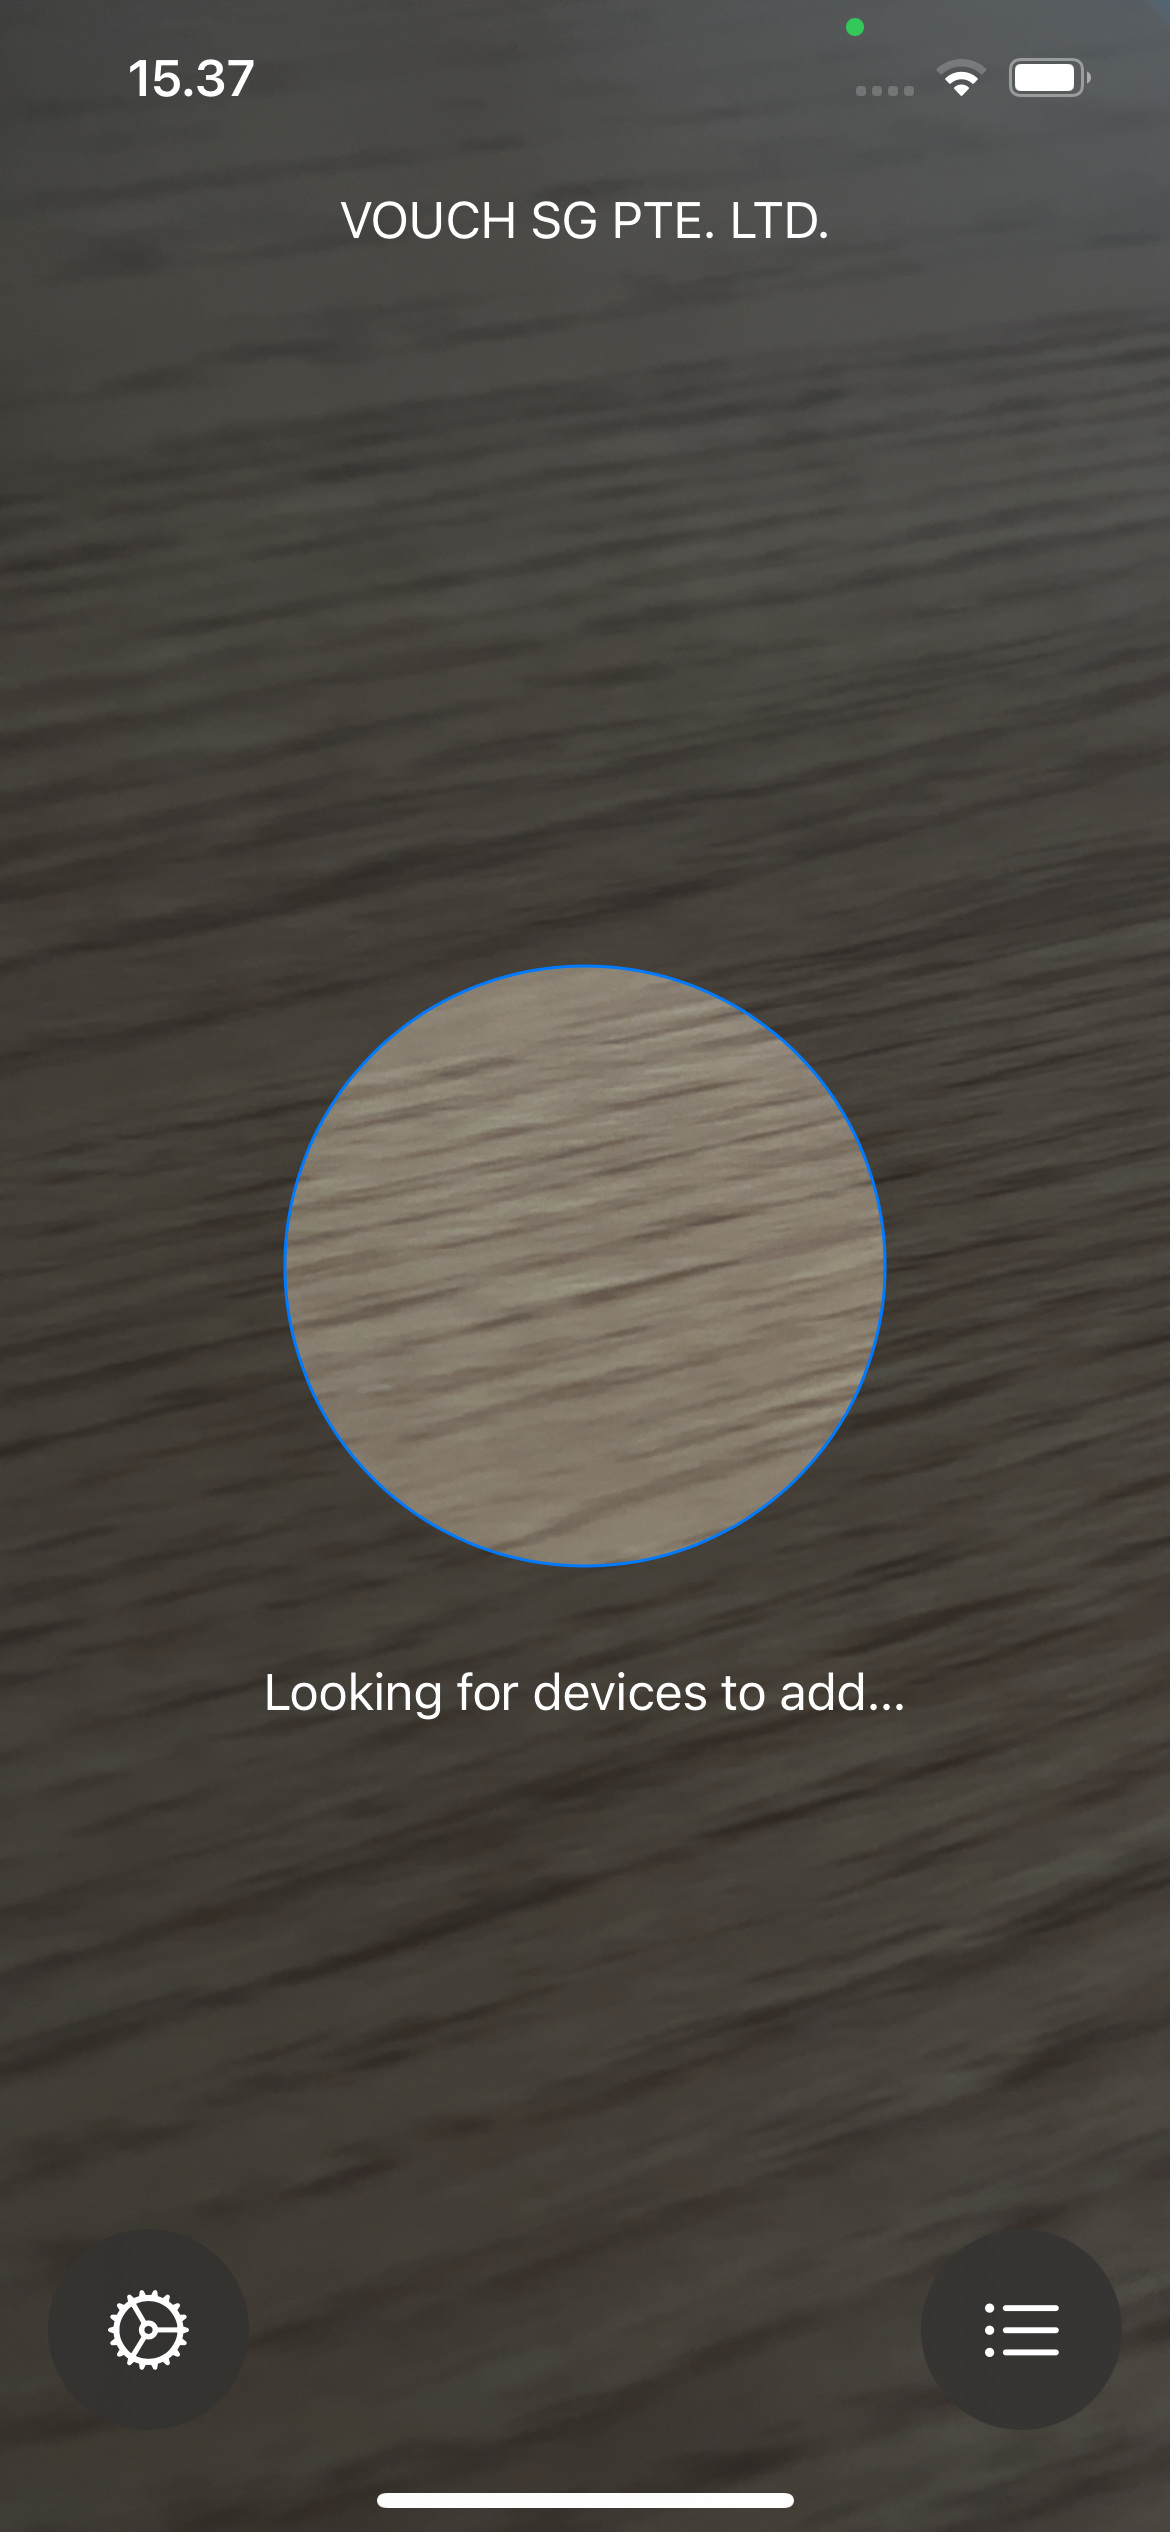
Confirm Apple Configurator is ready to add devices.
2. Prepare the Merchant iPhone or iPad
-
Factory reset the merchant device.
-
Turn on the merchant device.
-
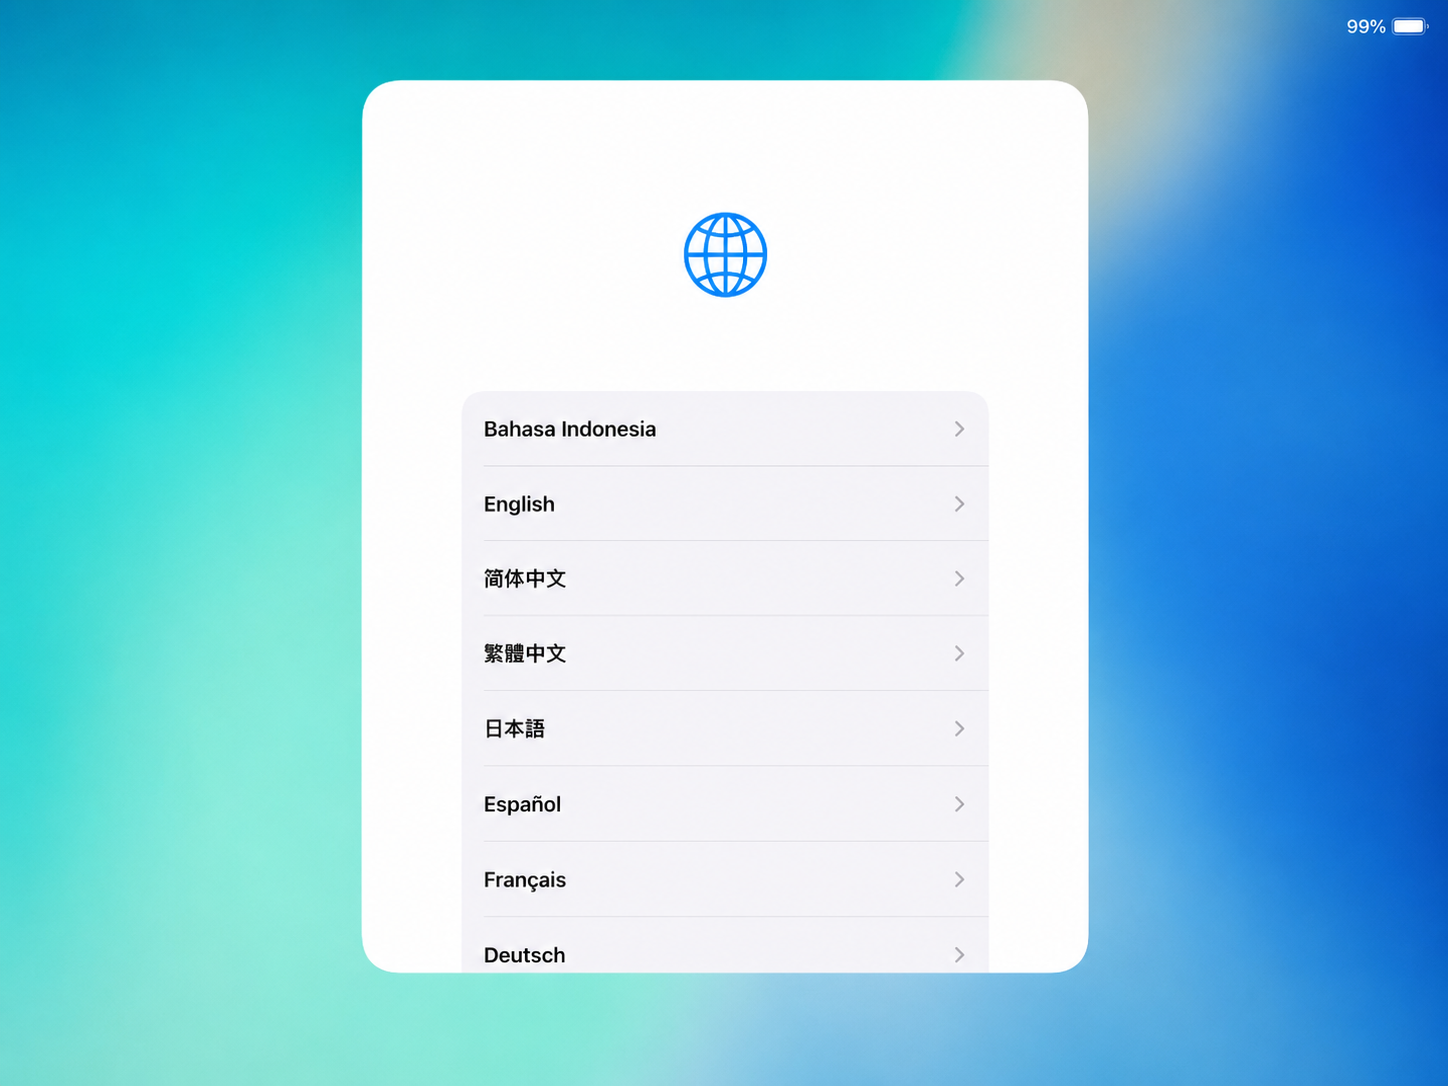
Choose the device language.
-
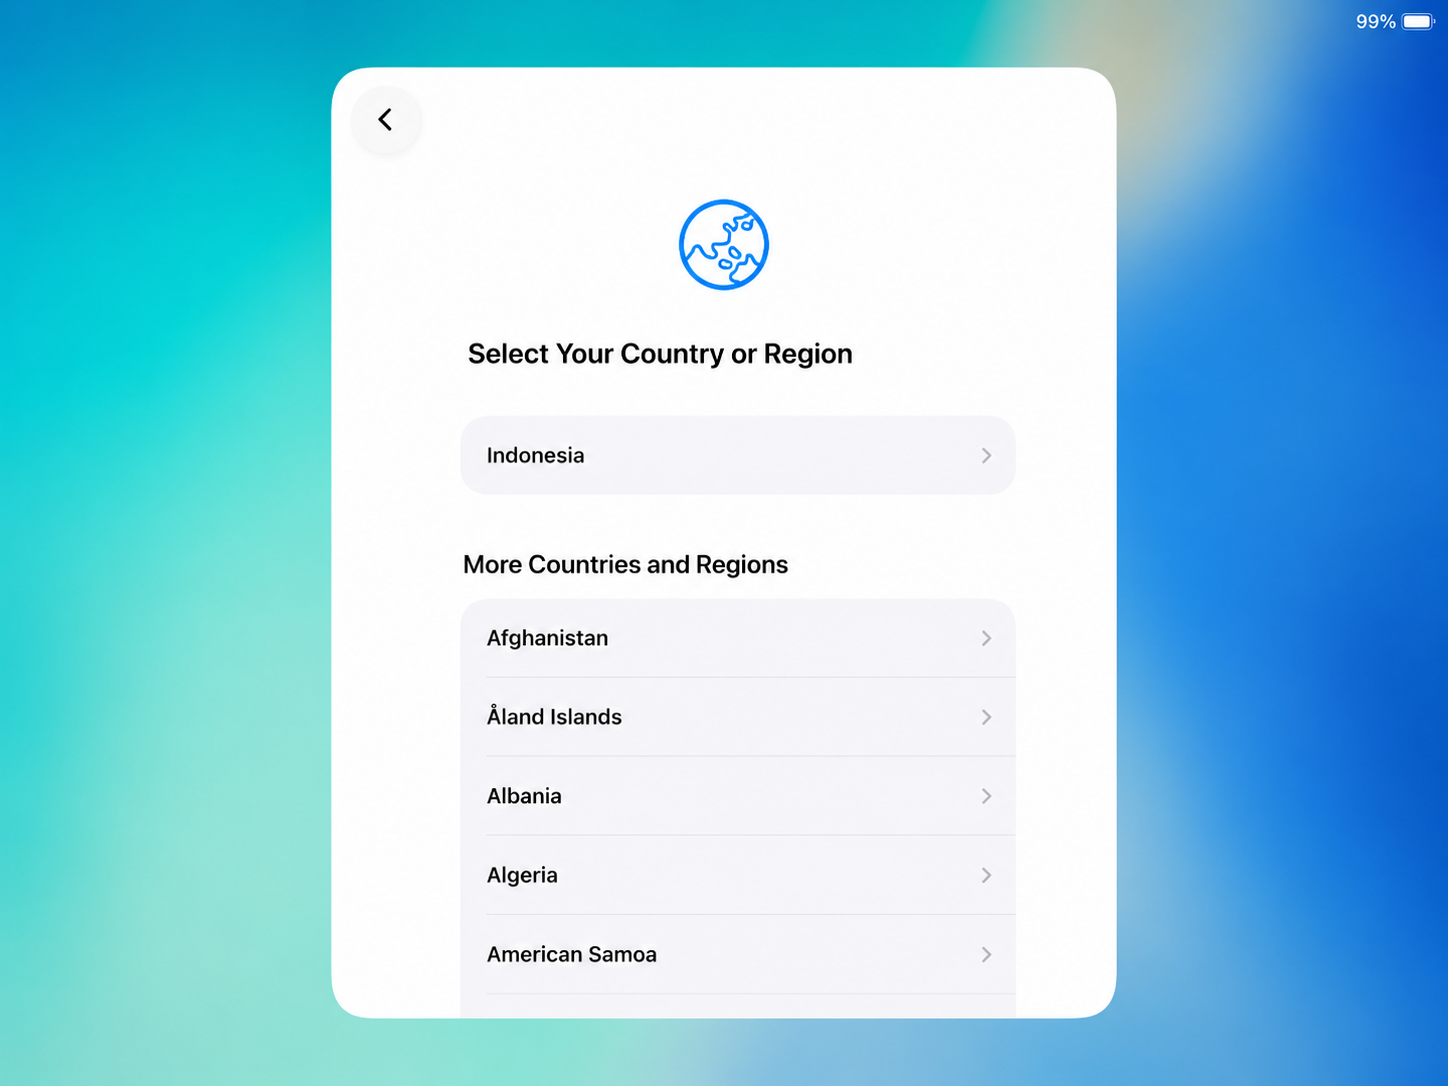
Choose the region.
-
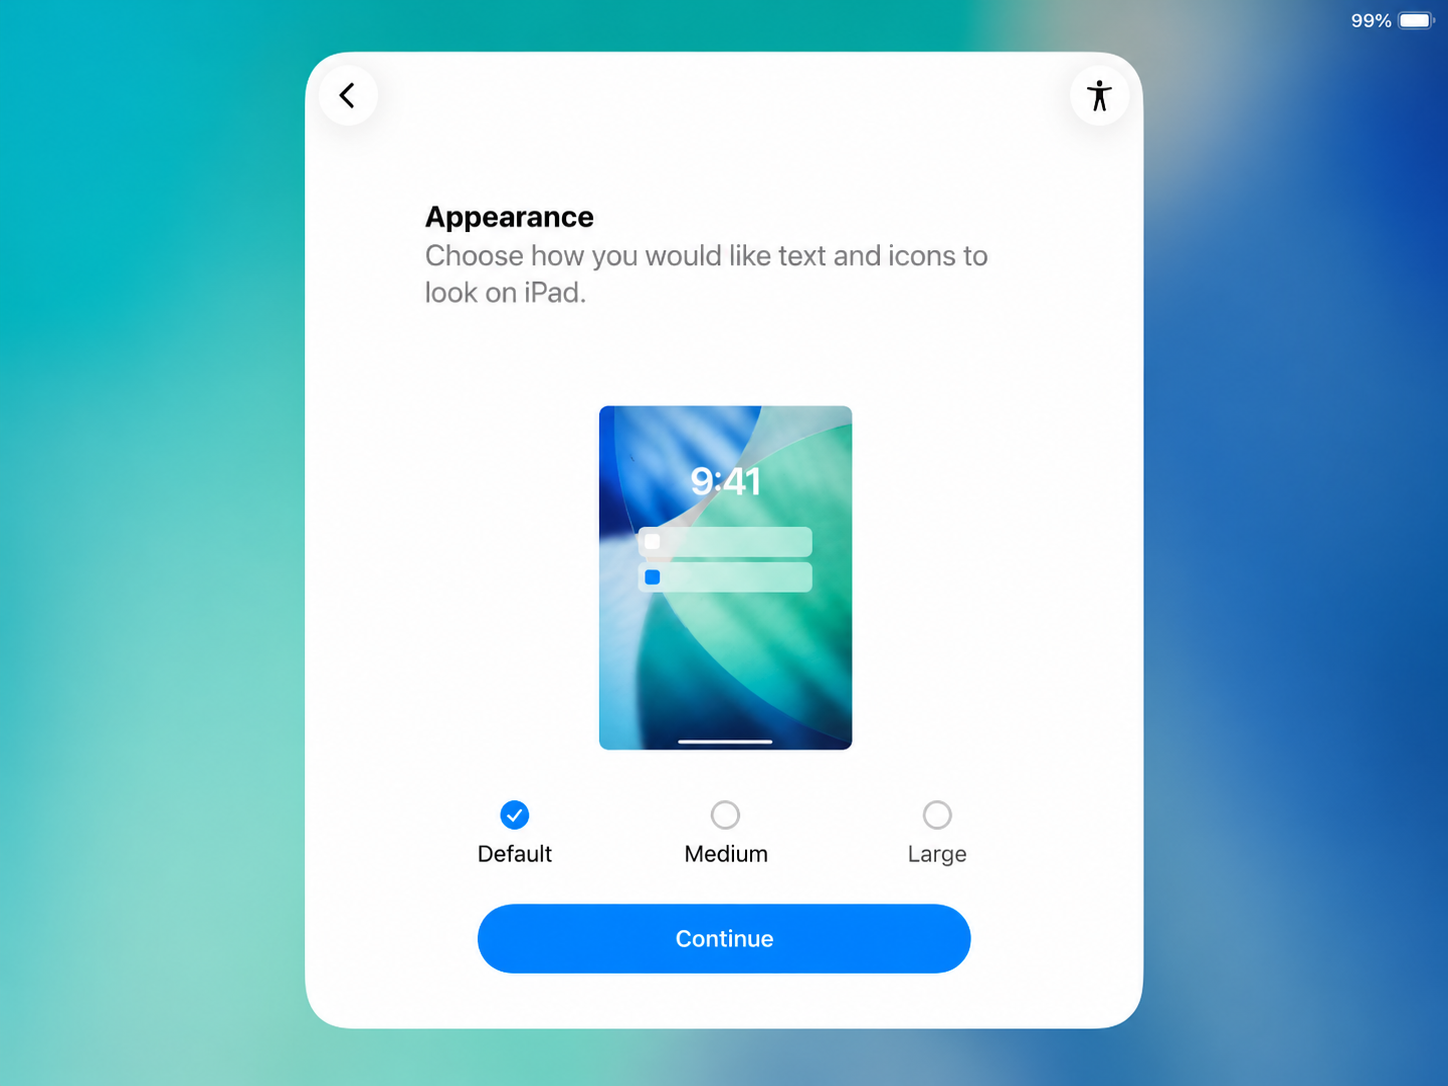
Choose the appearance.
-
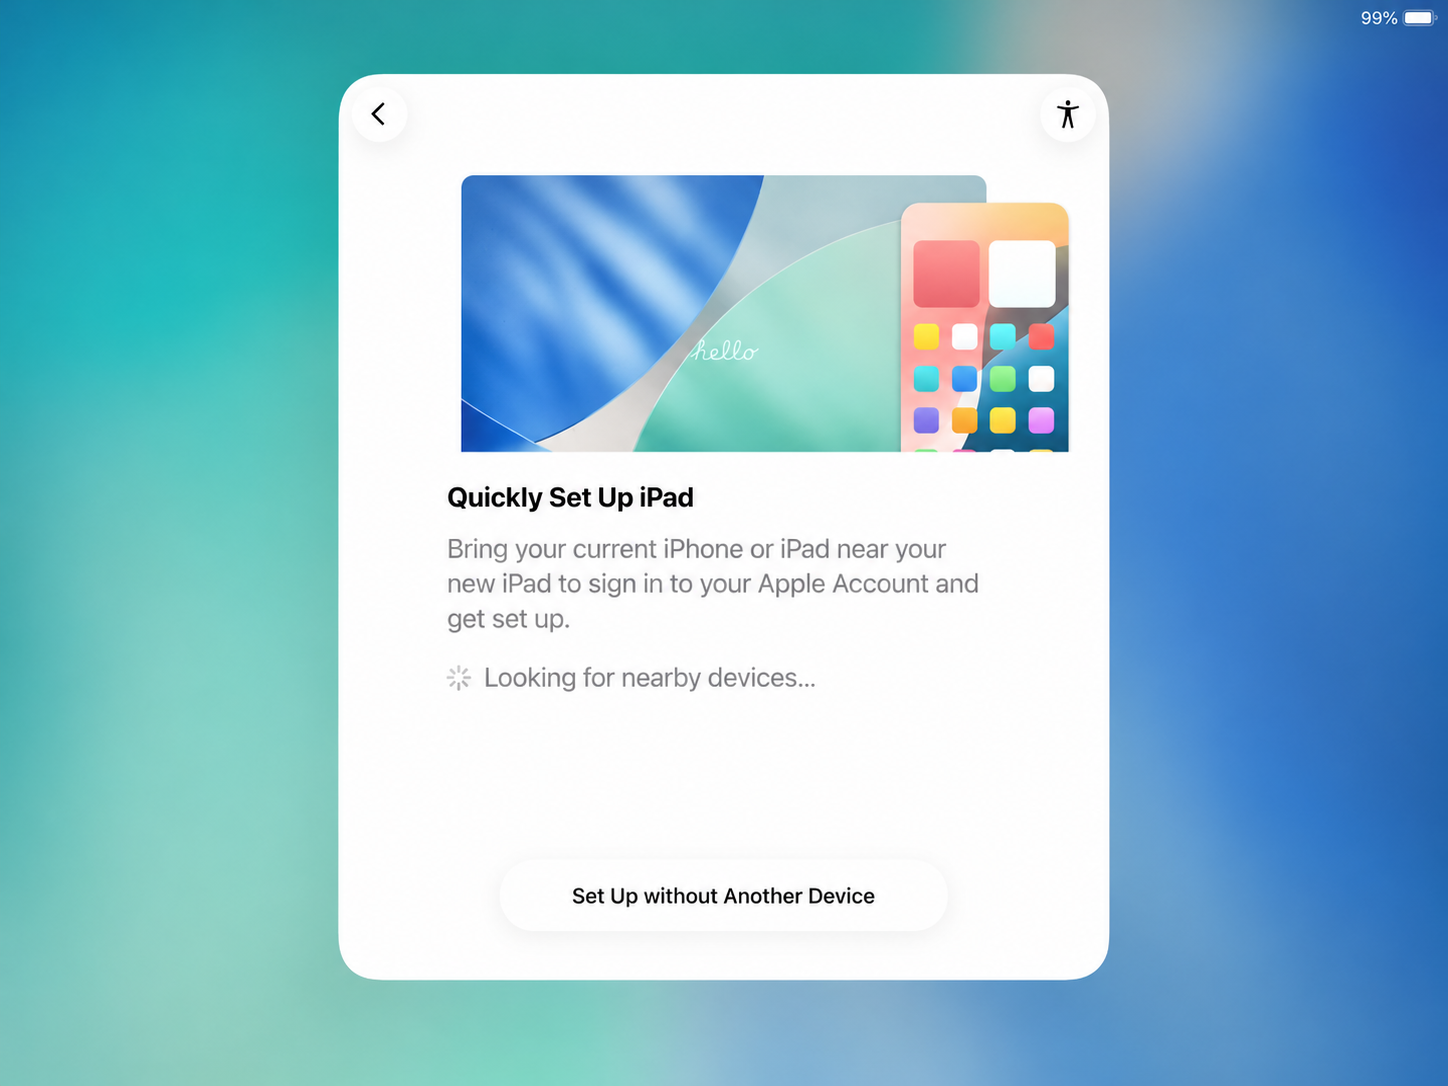
Tap Set Up Without Another Device.
-
Tap Use Selected Settings.
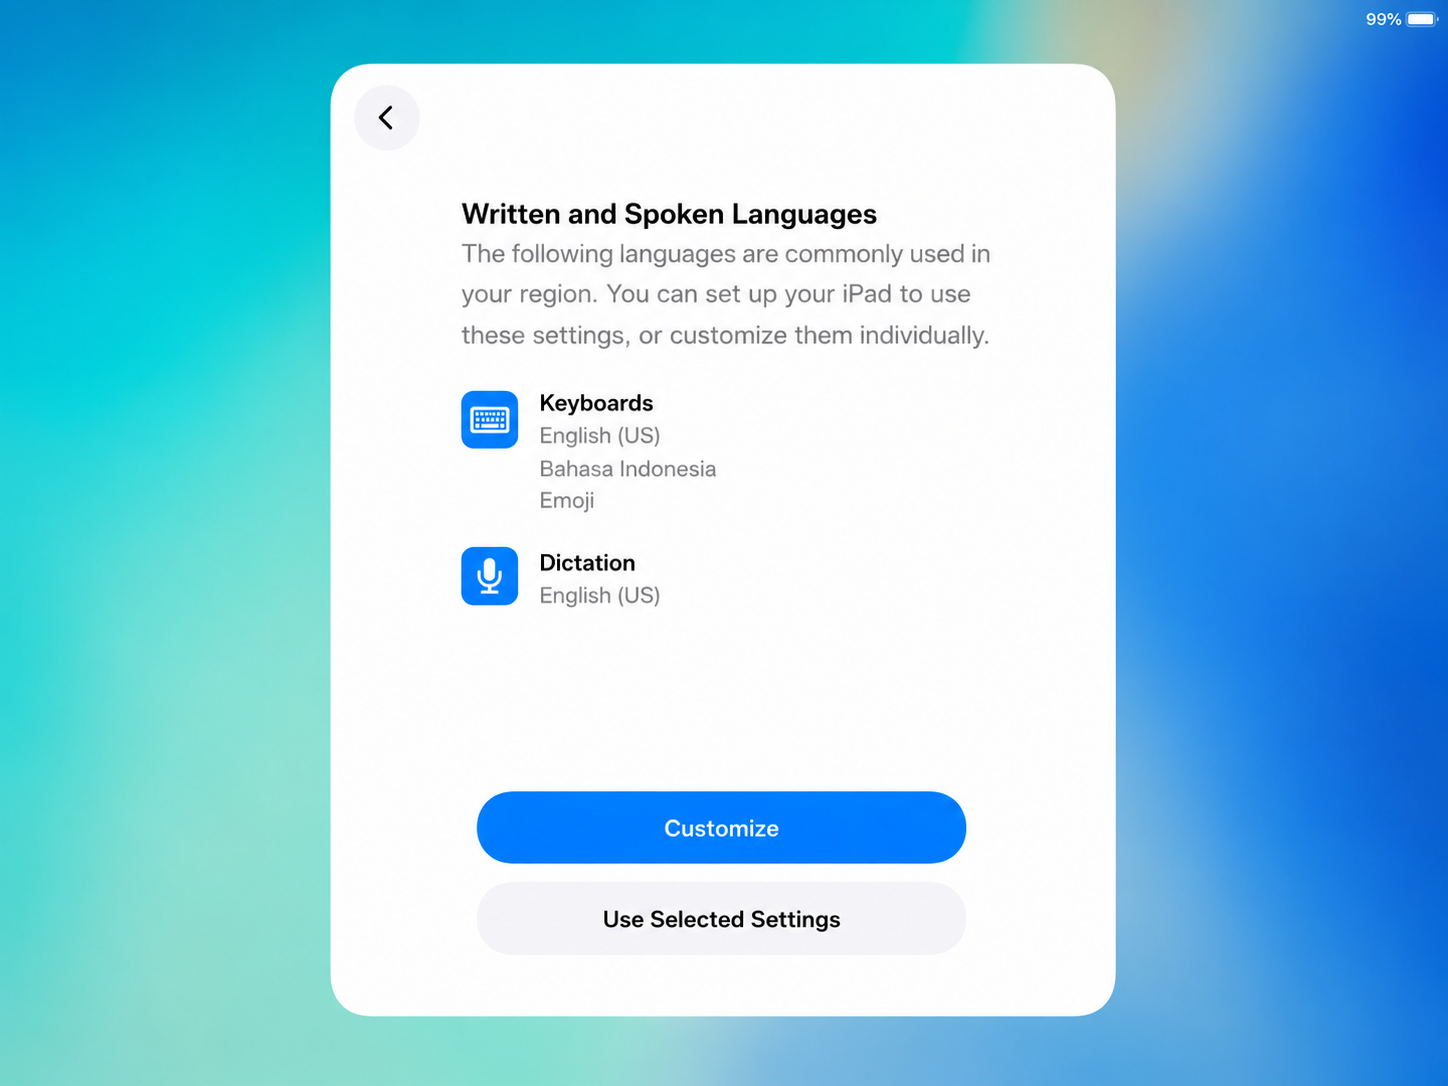
-
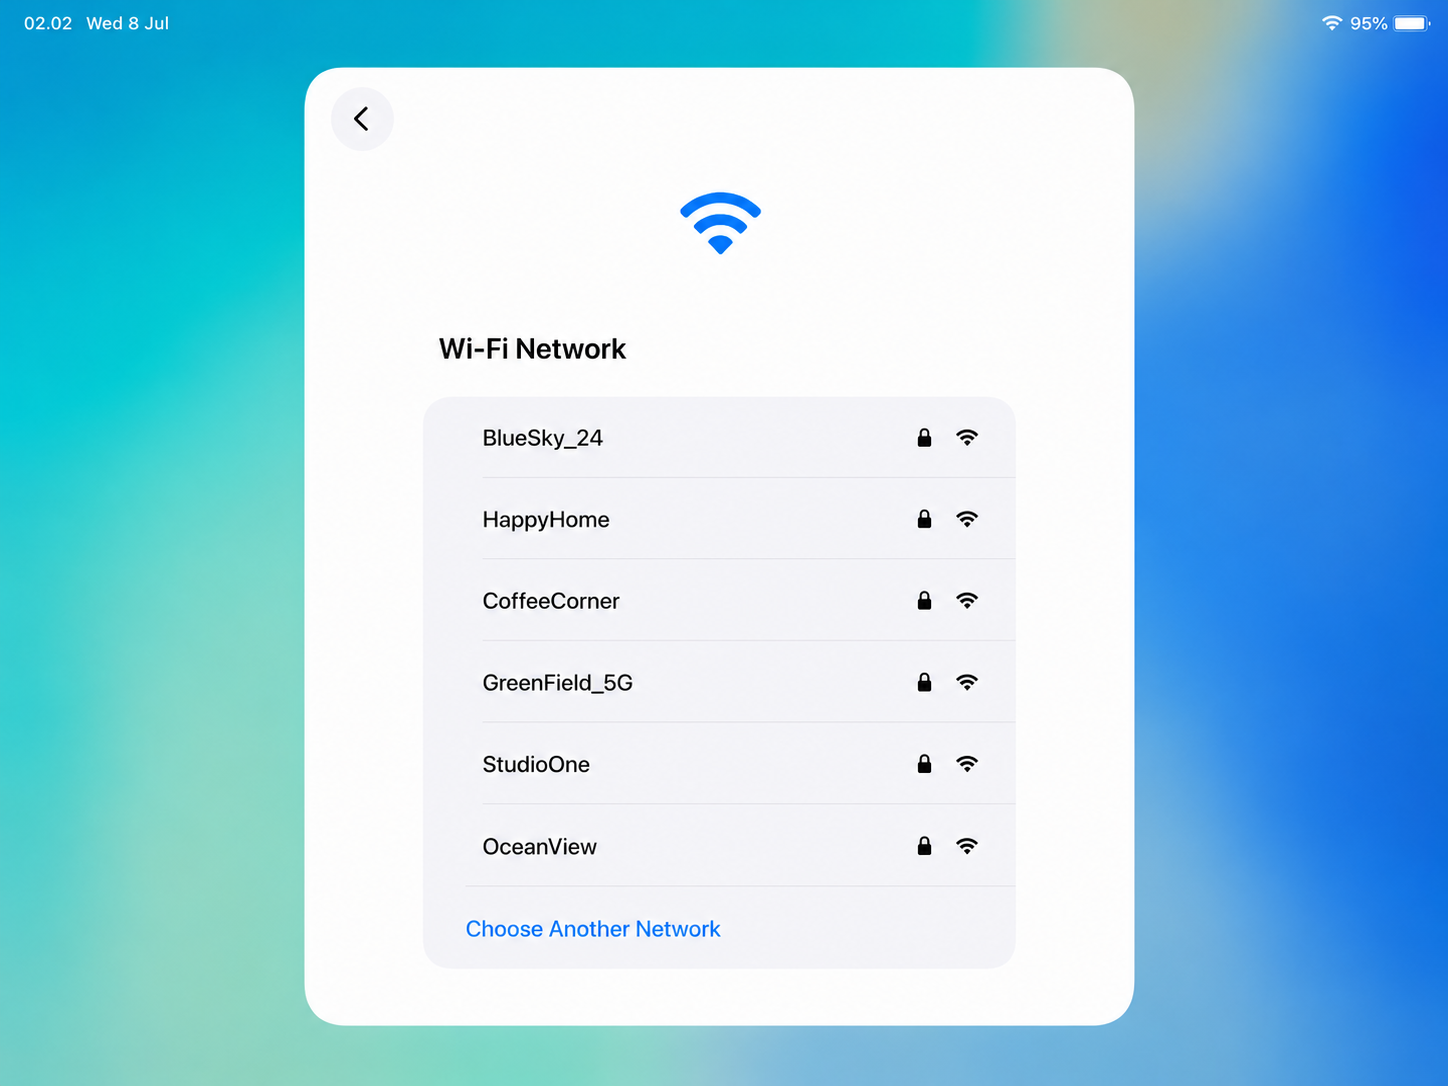
Stop at the Wi-Fi page.
Do not connect to Wi-Fi yetStay on the Wi-Fi setup screen. Do not connect the merchant device to Wi-Fi until Apple Configurator has added it to the Vouch ABM organization.
3. Pair the Merchant Device with Apple Configurator
- Make sure the staff iPhone or iPad is connected to Wi-Fi.
- Open Apple Configurator on the staff device.
- Keep the staff device close to the merchant iPhone or iPad.
- The merchant device should show a pairing code pattern.
- Scan the pattern using Apple Configurator on the staff device.
-
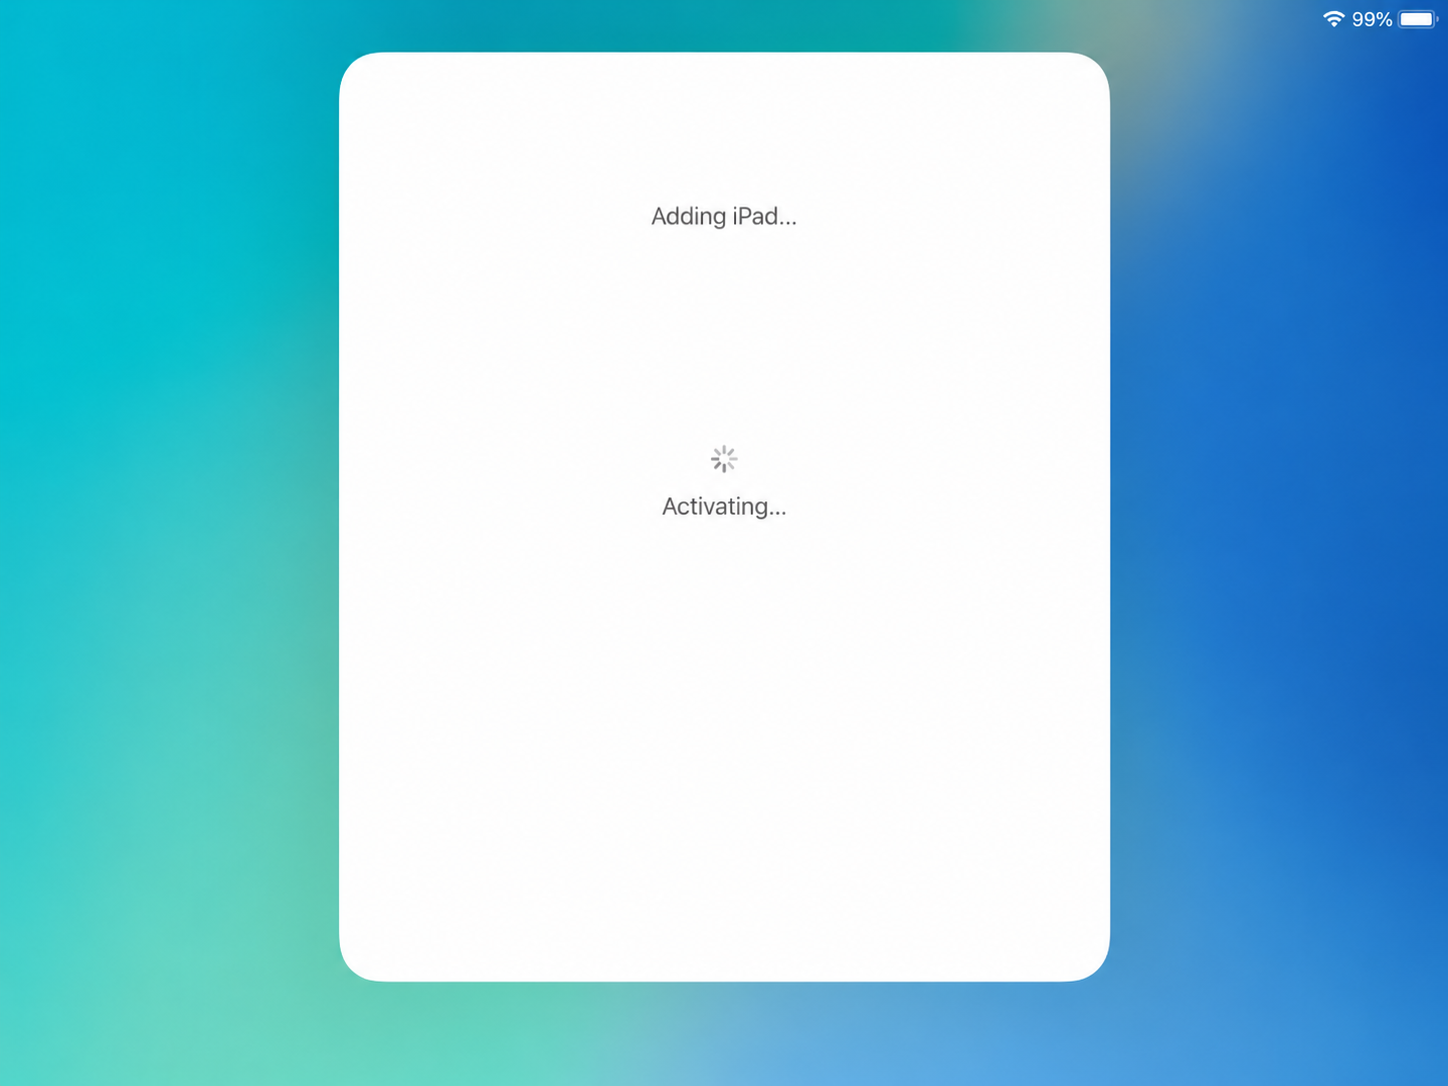
Wait while the merchant device activates.
-
When the device is added successfully, tap Erase iPad or Erase iPhone.
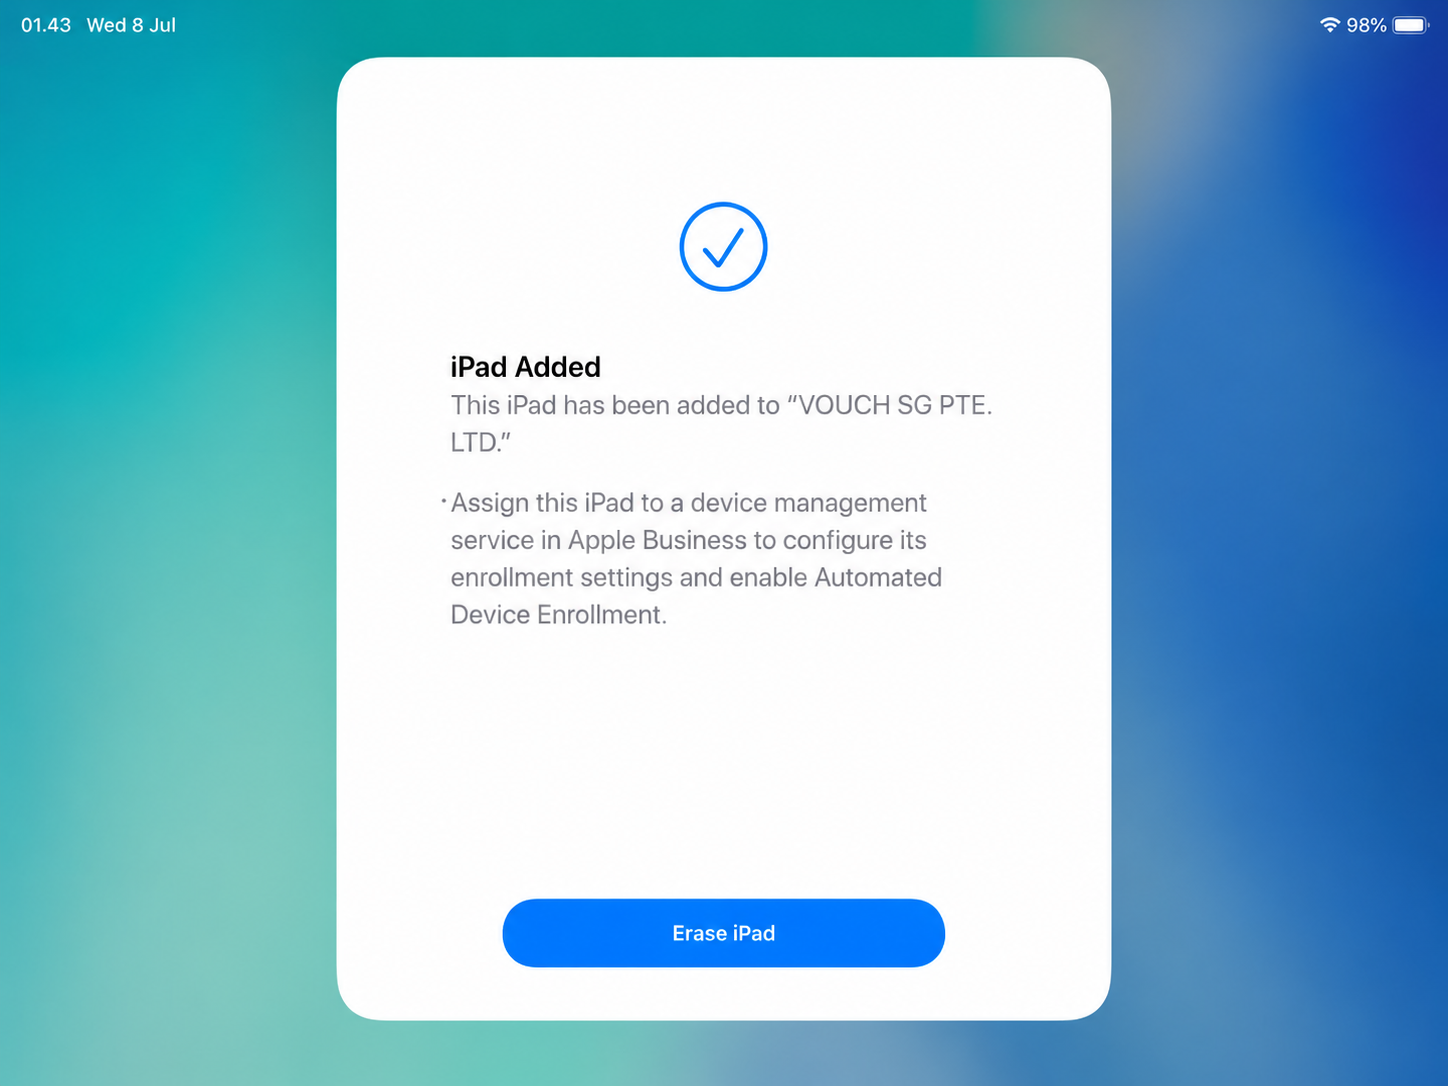
After the device erases, stop there. Do not continue setting up the merchant device yet.
4. Get the Device Serial Number
You need the device serial number later in AVA Portal. If you just registered the device using Apple Configurator, you can get the serial number from Apple Configurator.
-
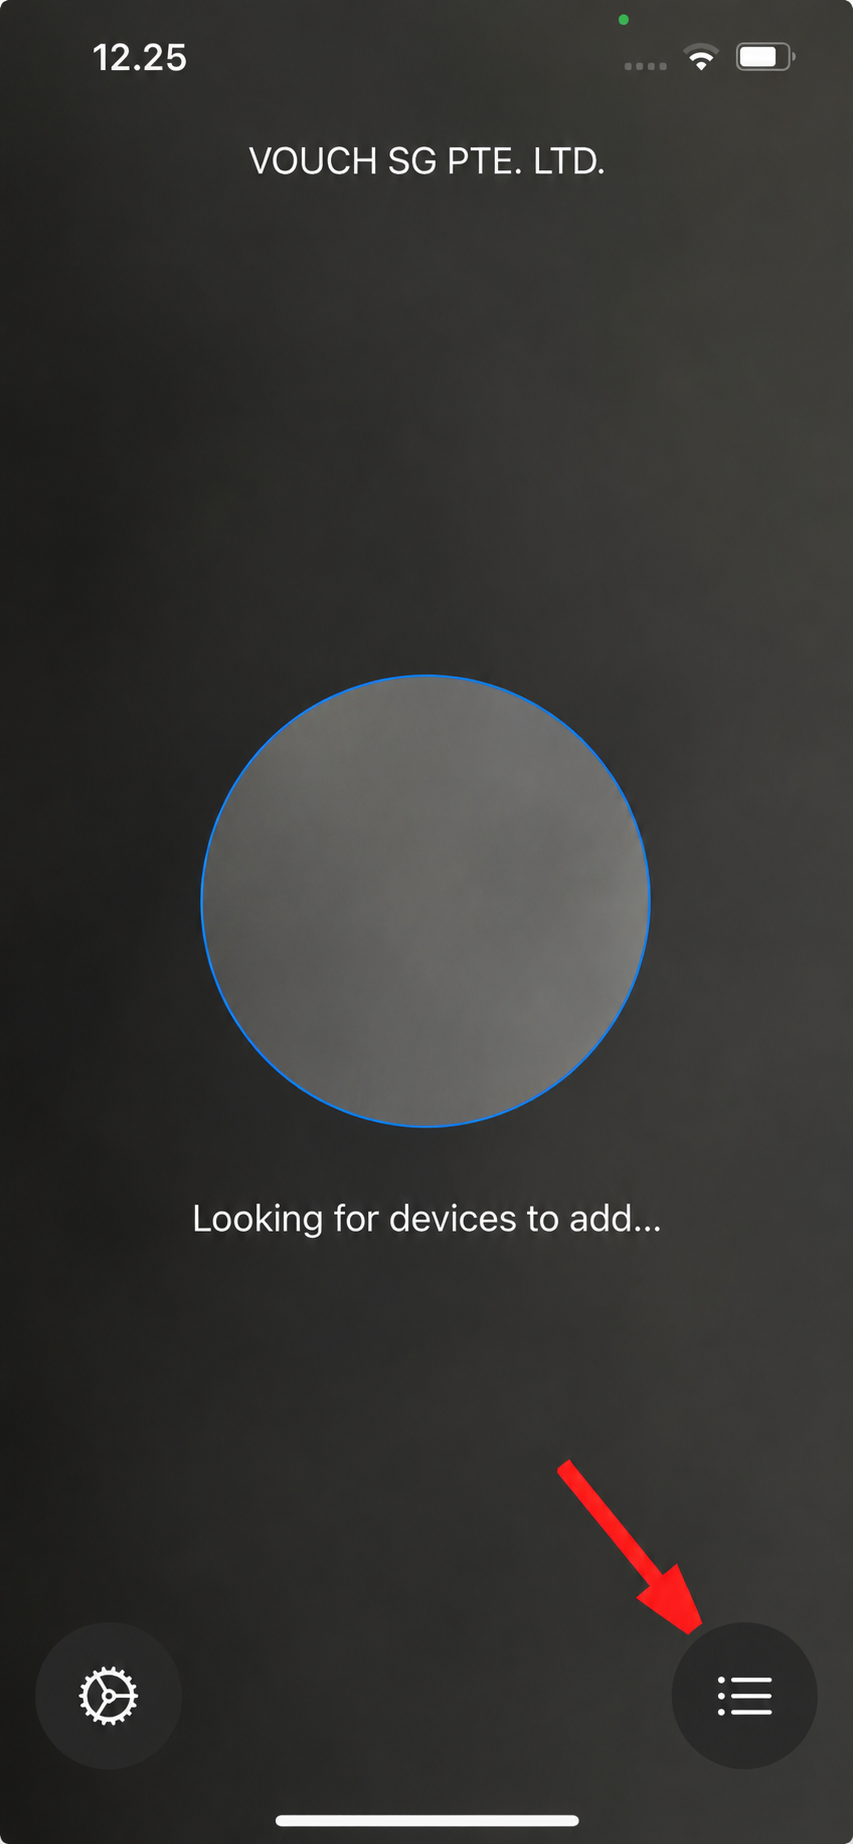
In Apple Configurator, tap the button at the bottom-right.
-
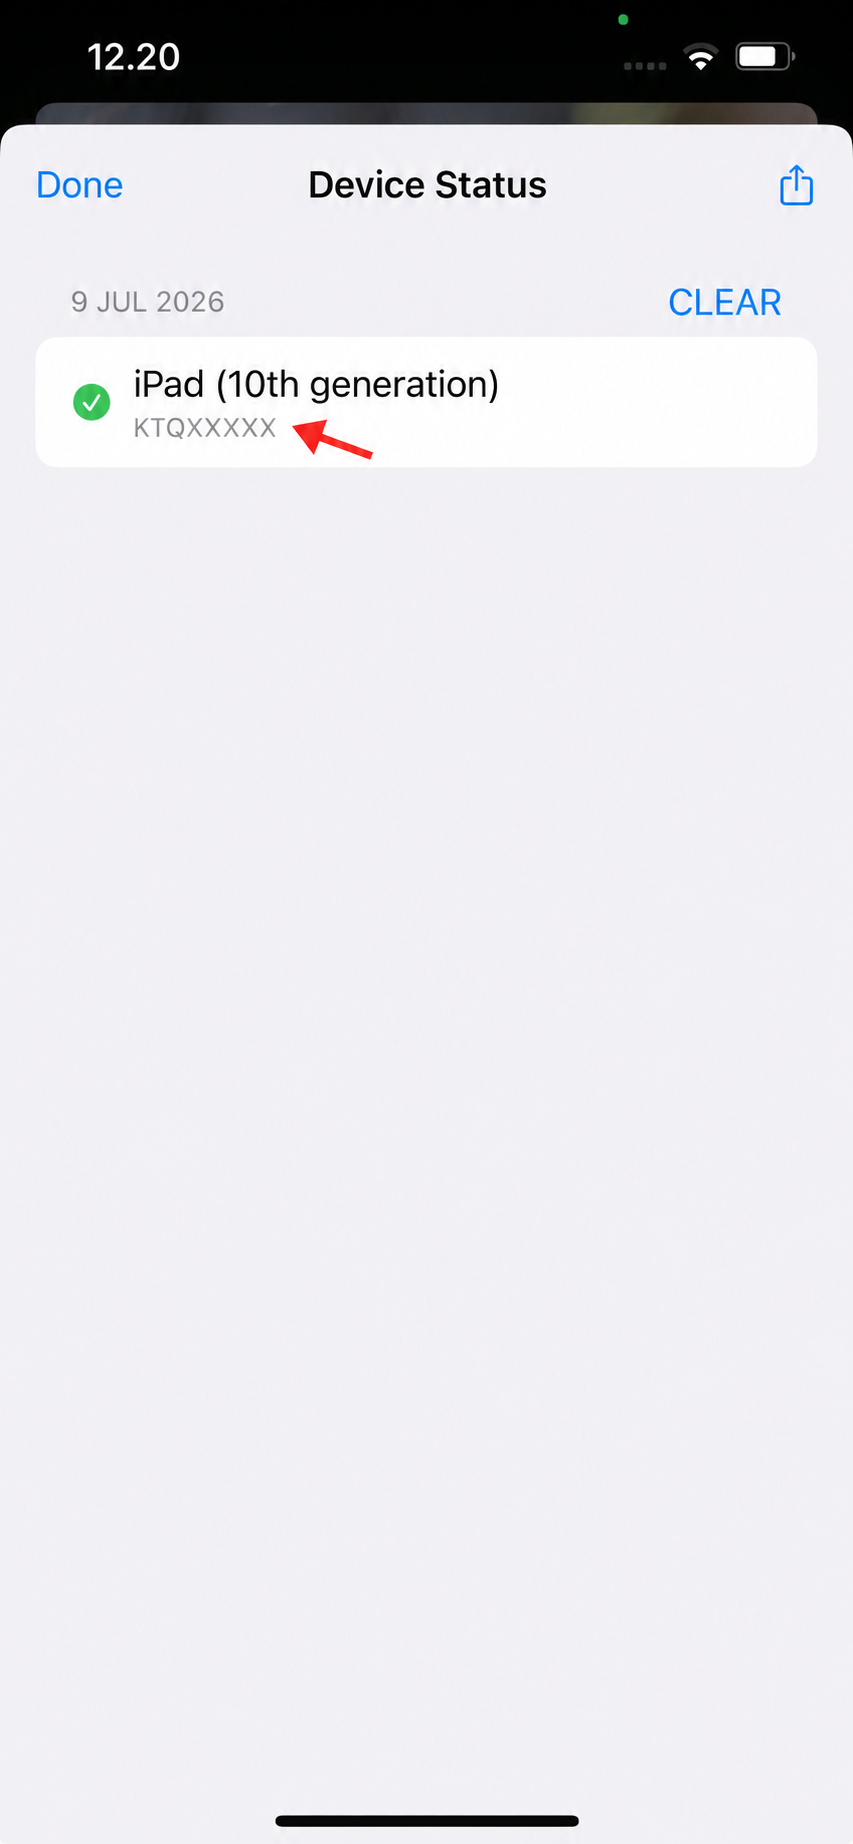
Copy or note the latest device serial number.
Enrollment for iOS Kiosk Mode
Only continue this section after the device is registered to the Vouch Apple Business Manager organization.
1. Create and Assign the iOS Device in AVA Portal
This step connects the registered merchant device to the correct merchant in AVA Portal. AVA also initializes the merchant default kiosk start URL before it assigns the ADE profile. You do not need to enter that URL manually.
- Open Settings → Kiosk.
- Click Create Device.
- Choose Locked-down check-in device.
- Choose iOS.
- Choose Dedicated Device Enrollment.
- Enter a clear device label, such as
Lobby iPadorFront Desk iPhone. - Enter the iPhone or iPad serial number.
- Click Create and assign.
- Wait until the automatic setup reaches ADE Profile Assigned.
When the device shows ADE Profile Assigned, the device is ready for Remote Management during Apple Setup Assistant.
If the serial number is rejected, the device may not be registered to the Vouch Apple Business Manager organization yet, or it may be assigned to another organization or management service. Ask Vouch staff to check the ABM registration first.
2. Enroll the Device Through Apple Setup Assistant
Do this only after the AVA Portal status reaches ADE Profile Assigned.
-
Turn on the merchant iPhone or iPad after factory reset.
-
If the device has not been erased yet, factory reset it first.
-
Follow the normal setup screens: language, region, appearance, and setup method.
-
This time, connect the device to Wi-Fi.
-
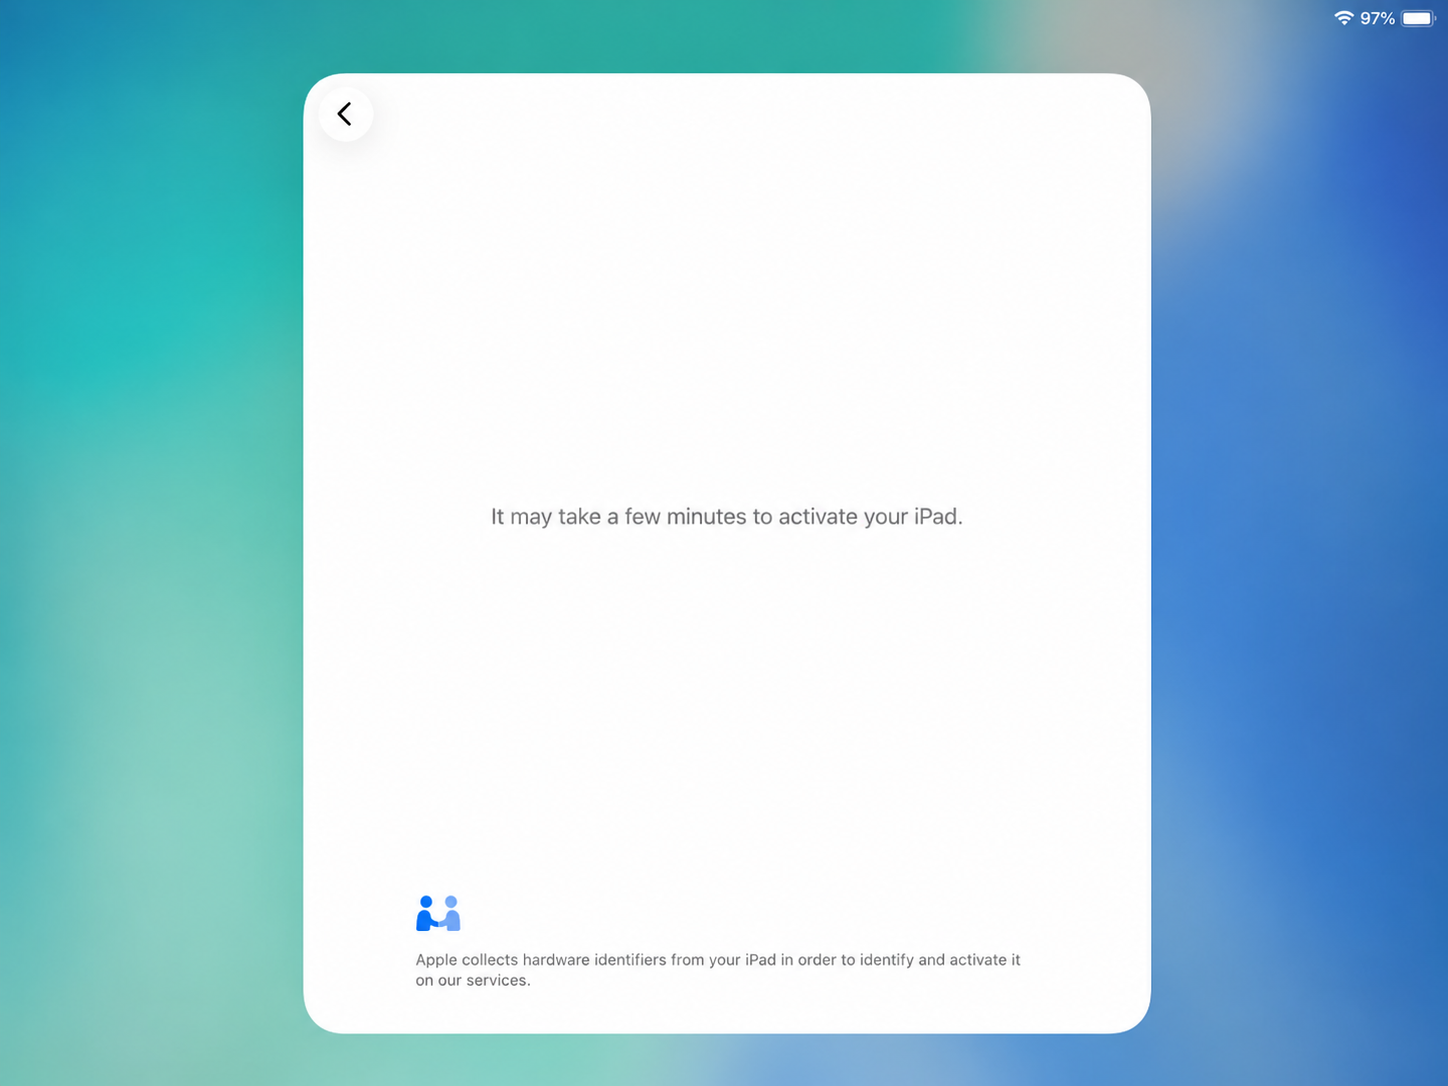
Wait for the device to activate.
-
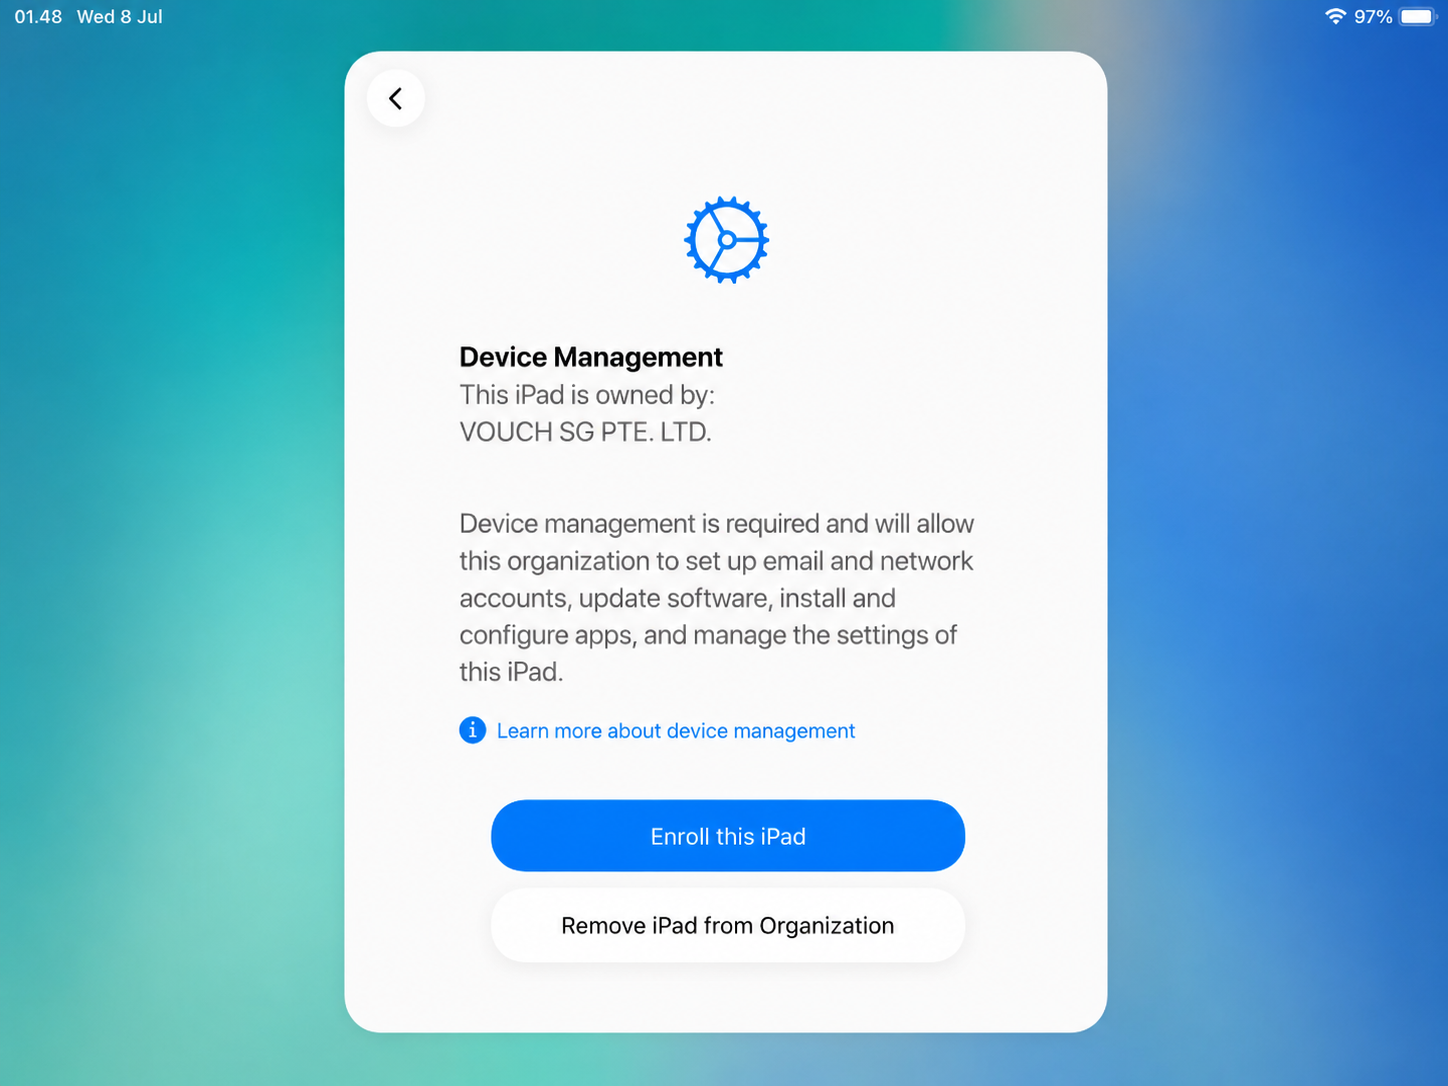
When the Remote Management screen appears, tap Enroll This iPad or Enroll This iPhone.
-
Continue until the device reaches the Home Screen.
At this point, the device is supervised and enrolled into Vouch MDM.
3. Finish Kiosk Setup in AVA Portal
After the device reaches the Home Screen, return to AVA Portal to finish the kiosk setup.
- Open Settings → Kiosk.
- In the Devices table, click Refresh.
- Find the iOS device row.
- The row should show a Setup button again.
- Click Setup.
- Run the setup flow.
- AVA Portal will process the required steps:
- associate the ava.kiosk app license,
- install ava.kiosk,
- start lock mode.
- Wait until the setup reaches Ready.
When setup finishes, the merchant iPhone or iPad is locked to the AVA kiosk app.
Check the merchant iPhone or iPad. If ava.kiosk is already installed, use the setup modal's verify action to check the app state and continue to lock mode.
What Success Looks Like
The iOS dedicated kiosk setup is complete when:
- the device is registered to the Vouch ABM organization,
- AVA Portal shows the iOS device under Settings → Kiosk,
- the device has completed Remote Management enrollment,
- ava.kiosk is installed,
- the device is locked to ava.kiosk.
After this, the device can be managed remotely from AVA Portal while it remains online.